On-page SEO is the foundation of any successful Webflow SEO strategy. When you optimize your page titles, meta descriptions, and headings correctly, search engines like Google can better understand and rank your content. This guide will walk you through the essential steps to master on-page SEO in Webflow, so you can drive more organic traffic and improve your site’s visibility.
1. Understanding On-Page SEO in Webflow
- **What is On-Page SEO?**On-page SEO refers to all optimizations you make directly on your web pages—content, HTML elements, and site structure—to improve search engine rankings.
- **Why Webflow?**Webflow’s visual designer gives you full control over HTML tags, classes, and attributes, making it easy to implement SEO titles, meta descriptions, and headings optimization without editing raw code.
2. Crafting SEO Titles: Best Practices
- Keep it Under 60 CharactersGoogle typically displays up to 60 characters of a page title.
- Place Primary Keyword EarlyStart with “On-Page SEO” or “Webflow SEO” to signal relevance.
- Use Separator Bars or PipesFormat:
On-Page SEO Tips | Your Site Name.
- Unique Titles for Every PageAvoid duplication by customizing titles per page or blog post.
Webflow Steps:
- In Webflow Designer, open Page Settings.
- Under SEO Settings → Title Tag, enter your optimized SEO title.
- Publish to see real-time previews in the Designer sidebar.
3. Writing Compelling Meta Descriptions
- Optimal Length: 150–160 characters.
- Include Secondary Keywords: “meta descriptions,” “Webflow SEO.”
- Call to Action: Encourage clicks (e.g., “Learn how to…”).
- Avoid Duplication: Each page needs a unique summary.
Example: “Learn how to boost your Webflow SEO with on-page SEO techniques. Optimize meta descriptions and titles for higher Google rankings today!”
Webflow Steps:
- Open Page Settings → SEO Settings.
- Paste meta description under Meta Description field.
- Save and republish.
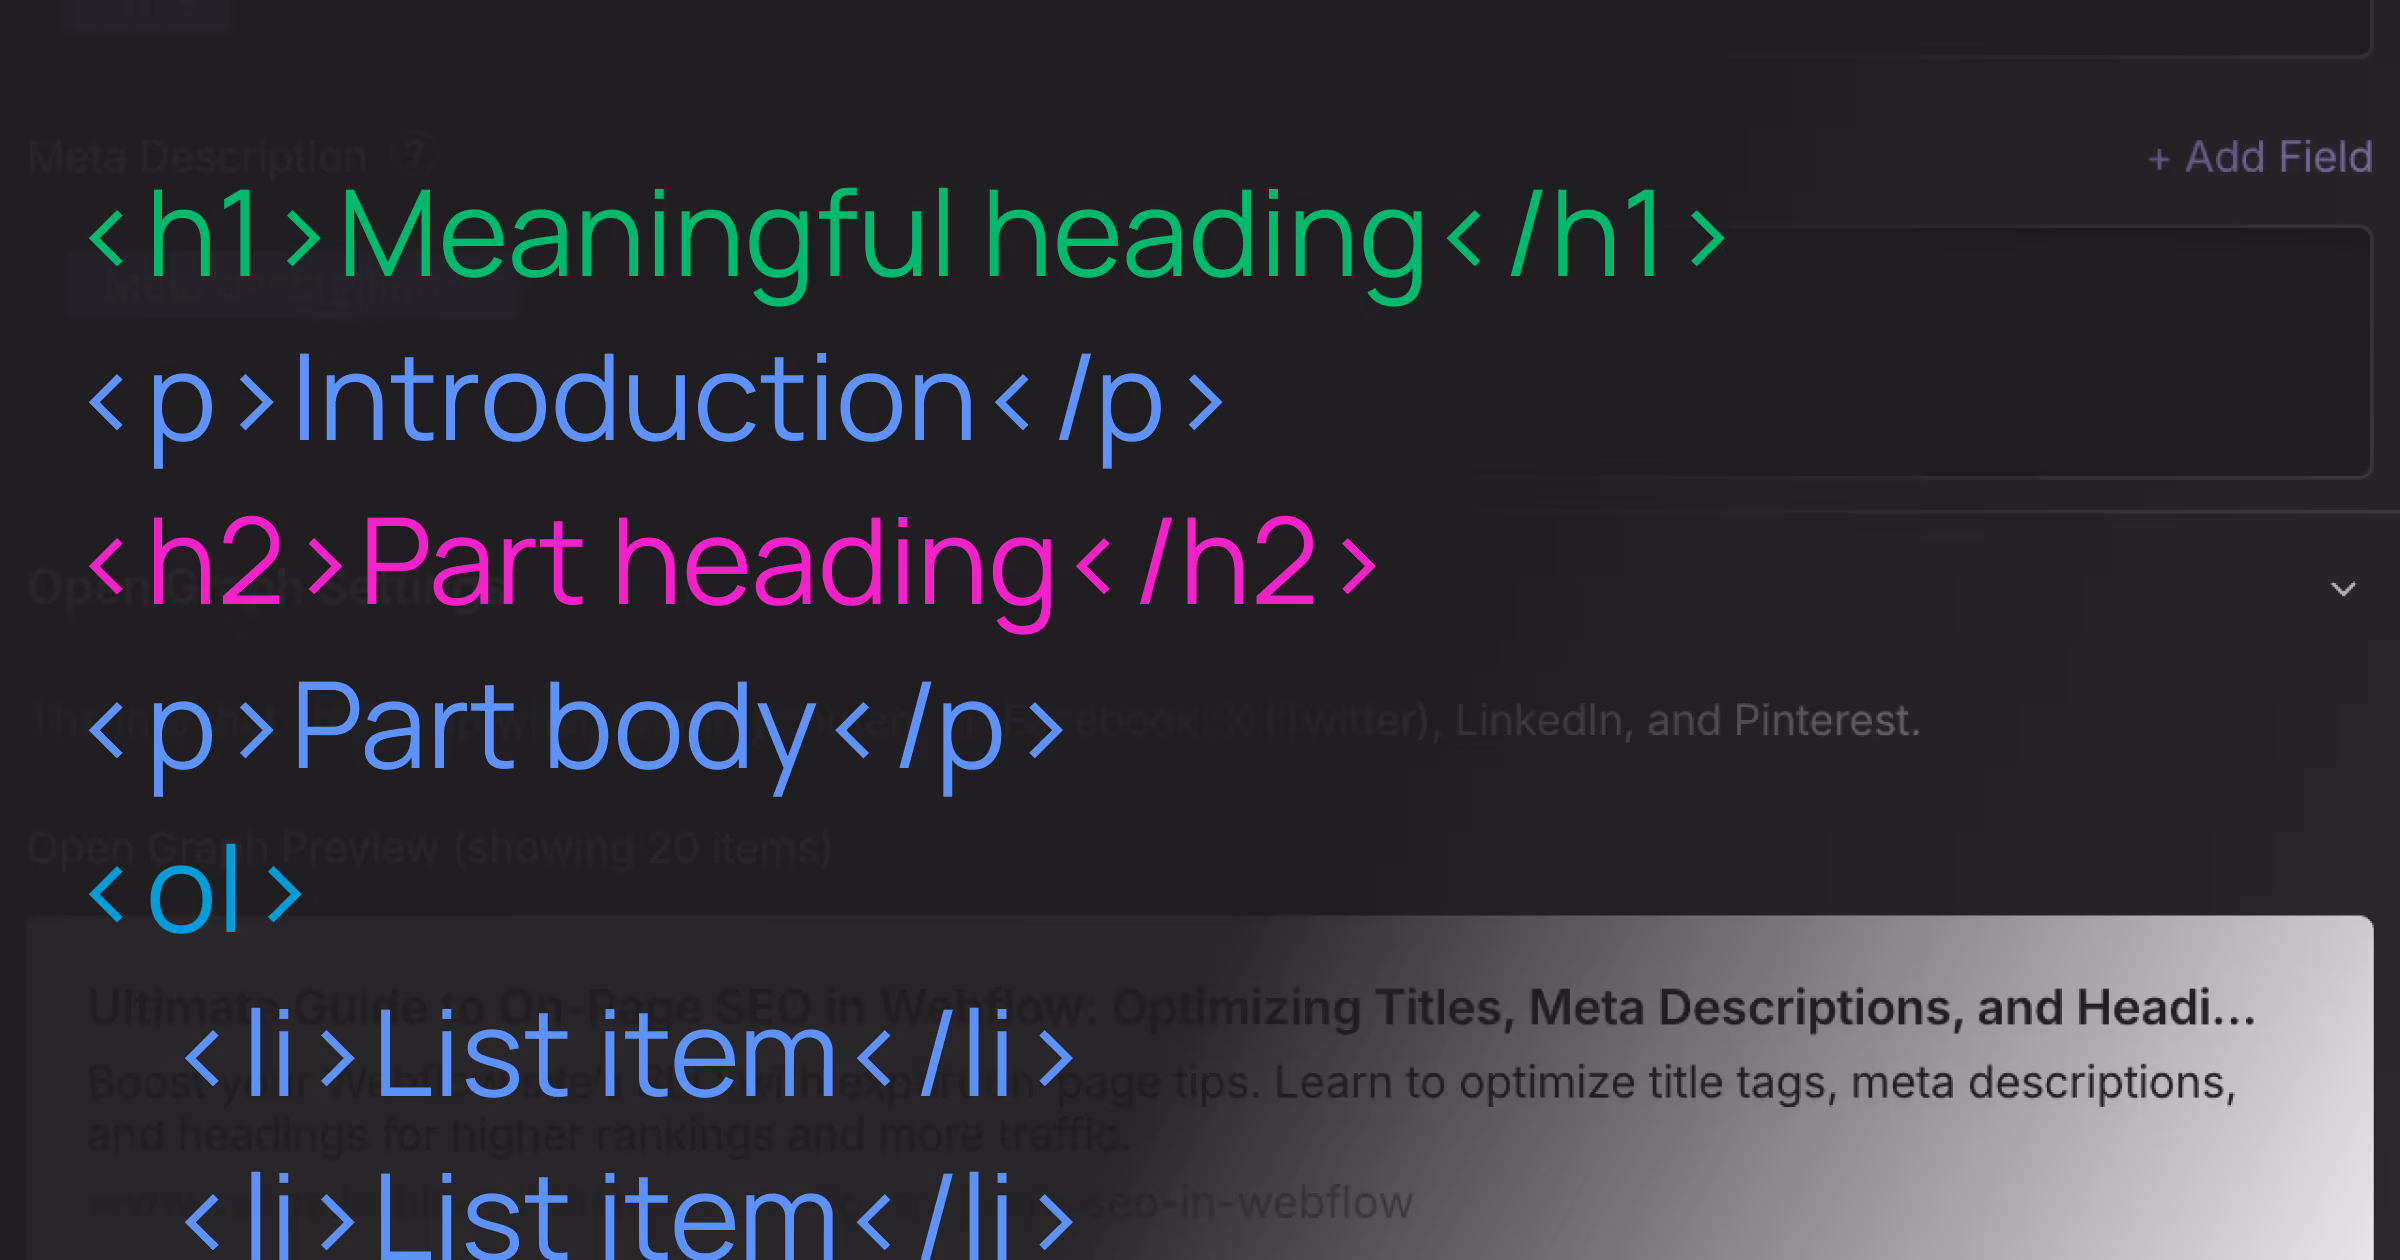
4. Optimizing Headings (H1, H2, H3…)
Proper heading structure helps both users and search engines navigate your content.
H1: Primary Topic
- One H1 per page, containing your main keyword (e.g., “Ultimate Guide to On-Page SEO in Webflow”).
H2 & H3: Subtopics
- Use H2 for major sections: “Crafting SEO Titles,” “Writing Meta Descriptions.”
- Use H3 or H4 for subpoints within those sections.
Best Practices for Headings Optimization
- Consistency: Stick to your site’s typography scales.
- Keyword Placement: Naturally include “headings optimization” or related terms.
- Accessibility: Ensure heading tags follow visual hierarchy for screen readers.
Webflow Steps:
- Select a text element in Designer.
- In the settings panel, choose the appropriate heading tag.
- Double-check in Navigator to confirm one H1 and logical H2/H3 flow.
5. Additional On-Page SEO Tips in Webflow
- Optimize Images:
- Add descriptive alt text containing keywords like “Webflow SEO screenshot.”
- Compress images to improve page speed.
- Internal Linking:
- Link related pages/posts using keyword-rich anchor text.
- Clean URL Structure:
- Use slugs like
/on-page-seo-webflow-guide rather than auto-generated strings.
- Schema Markup:
- Insert JSON-LD in Custom Code to enable rich snippets.
- Mobile Responsiveness:
- Ensure headings and content adjust correctly on mobile. Google favors mobile-friendly sites.
Conclusion
Implementing solid on-page SEO in Webflow involves more than just filling out SEO fields. By optimizing SEO titles, crafting compelling meta descriptions, and ensuring proper headings optimization, you set the stage for higher rankings and better user engagement. Follow this guide step by step, and your Webflow site will be primed for search success.
